The lean to is the shelter most associated with bushcraft, and for good reason. It goes up quickly, allows you to sit up and work, and pairs with a fire in a way that enclosed shelters cannot. It is also the most exposed structure in common use, which makes wind direction the whole decision.
What is the basic structure?
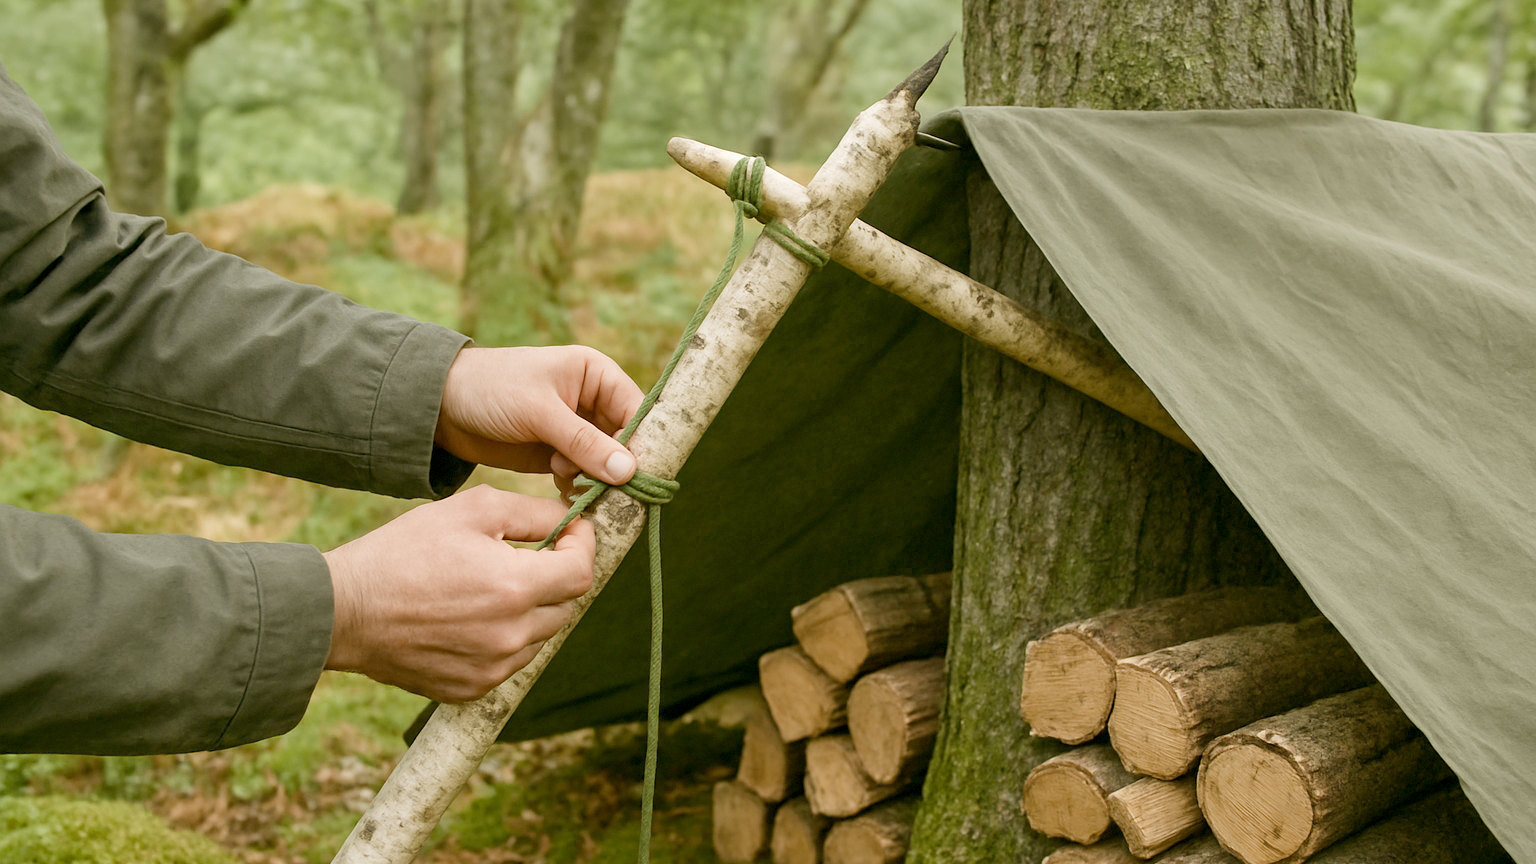
A single sloping wall. Set a horizontal ridge pole between two trees or two forked uprights at around waist to chest height, then lean poles from that ridge down to the ground behind it at roughly forty five degrees. Cover with a lattice of brush and thatch it, or throw a tarp over the same frame. The result is a wall and roof in one plane, open along the front, facing away from the wind.
How steep should the roof be?
Steeper than looks necessary, around forty five degrees or more. A shallow pitch lets rain sit and soak through natural thatch, and lets a tarp pool water until it sags. A steep pitch sheds water fast and resists wind better, at the cost of internal space. If you have only a small amount of thatching material, a steeper angle also makes it go further, since water runs off rather than dwelling long enough to penetrate.
- Set the ridge no higher than chest height
- Pitch the roof at forty five degrees or steeper
- Thatch from the bottom upward, overlapping like roof tiles
- Face the open side away from prevailing wind
- Insulate the floor before worrying about the walls
- Build any fire a safe distance in front, never underneath
How do you thatch it properly?
From the bottom upward, with each layer overlapping the one below by at least half its length, exactly as roof tiles work. Bracken, conifer boughs, long grass, reeds and leafy branches all serve, laid with the growing tips pointing downward so water runs off rather than being channelled inward. Working from the top down is the common error and produces a roof that funnels rain straight through. Expect to need a great deal of material and to add more once you see where it leaks.
How does it work with a fire?
Well, which is its main advantage. A long fire built parallel to the open face, a couple of metres away, radiates heat into the shelter, and the sloping back wall reflects some of it back down onto you. A stacked log wall on the far side of the fire improves this considerably by reflecting heat forward rather than letting it escape. Keep the distance sensible, watch for sparks reaching thatch, and never build a fire under the roof line.
What is the main weakness?
Wind reversal. The lean to protects one direction absolutely and the opposite direction not at all, so a shift overnight leaves you sitting in an open funnel with rain blowing in. In settled conditions this is an acceptable risk. In changeable British weather, particularly on high ground, consider partly closing one end, or choose an A-frame or debris hut instead.
When is it the right choice?
When you want to work, cook and see out, when the wind is steady and known, when you have a fire, and when you need shelter quickly. For sleeping through a cold still night without a fire, an enclosed structure with a small internal volume will keep you far warmer for the same effort.
What is a fire reflector and is it worth building?
A wall of stacked logs or a bank of earth built on the far side of the fire, opposite the shelter, so heat radiating away from you is reflected back. It is genuinely effective and roughly doubles the useful heat reaching the lean to, which matters a great deal on a cold night. Build it about a metre from the fire and slightly higher than the flames, leaning marginally toward the fire. It also blocks wind from the far side and provides a stack of drying fuel within easy reach, so it earns its build time three times over.
Build it steep, thatch it upward, point it downwind, and put a fire in front, and the lean to becomes the most comfortable shelter in the woods.