Sharpening is the skill that makes every other knife skill work, and it is far simpler than the volume of debate around it suggests. Three steps, done consistently.
What are the three steps?
Grind at a consistent angle until a burr forms along the entire edge. Repeat on the other side. Then refine and remove the burr with finer abrasive and stropping. If a burr has formed along the whole length, the two bevels have met and the edge is sharp. If it has not, you have not finished grinding regardless of how long you have been at it.
What is a burr?
A thin lip of metal folded over the edge, formed when the bevel you are grinding meets the other side. You detect it by running a thumb gently across the edge from spine to edge, never along it, and feeling a slight catch. It is the only reliable indicator that you have ground far enough, which is why it matters more than time or stroke count.
- Grind until a burr forms along the entire edge
- Repeat on the other side, then refine with finer abrasive
- Strop to remove the burr and polish the edge
- Consistency of angle matters more than the exact angle
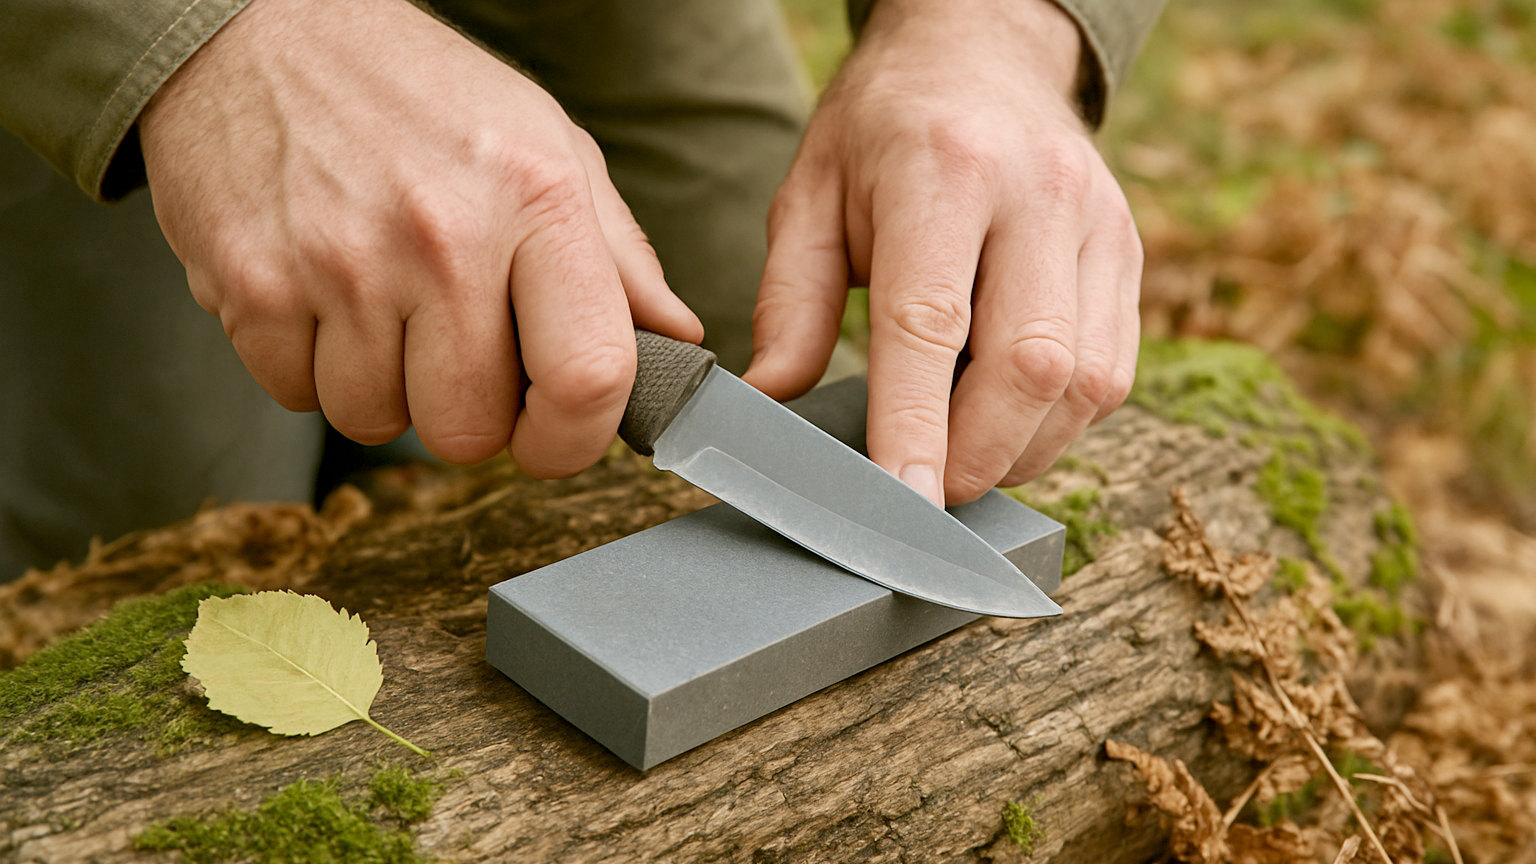
- Lay a scandi bevel flat on the stone
- Test on paper rather than on your thumb
What angle should you use?
Whatever the knife already has, maintained consistently. Changing the angle means removing a great deal of metal before you reach an edge, which is slow and shortens the life of the blade. For a scandi grind the answer is easy: lay the flat bevel on the stone and it sets the angle for you, which is much of why scandi is popular for bushcraft.
What equipment do you need?
Less than the market suggests. A double sided diamond plate or a combination waterstone in coarse and fine, plus a leather strop with polishing compound, covers everything. Diamond plates stay flat, work dry or with water, and are hard to damage, which makes them well suited to field use. Expensive stone sets are a preference rather than a requirement.
How do you strop?
Draw the blade backward along leather, spine first, never edge first, at the same angle as the bevel. This aligns and polishes the edge and removes the burr, taking a knife from sharp to genuinely keen. A few passes each side after each session keeps an edge for a long time and delays the need to grind at all.
How do you test it?
On paper, which is repeatable and safe. A sharp knife slices cleanly through a sheet of paper held by one corner without tearing or catching. A blunt one snags. Avoid testing on your thumb, which is how people cut themselves and which tells you less. Looking along the edge into the light also helps: a sharp edge reflects nothing, while a dull spot shows as a bright line.
How often should you do it?
Strop often, grind rarely. A few strokes on a strop at the end of each session maintains an edge almost indefinitely, and full sharpening becomes necessary only when the edge is damaged or has been neglected. People who strop routinely rarely need to grind, and people who never strop end up grinding constantly.
What about axes and saws?
Axes are sharpened on the same principles with a file and a puck, following the existing convex bevel and working from the edge back. Saws are generally not sharpened by users, since modern hardpoint teeth are hardened and are replaced rather than filed. Keep saw blades clean and dry and replace them when they stop cutting easily.
What if the edge is damaged?
Grind past the damage rather than trying to work around it. Chips, rolled sections and blunt spots need enough material removed that the new edge sits behind the damage along the whole length, which is slow on a fine stone and quick on a coarse one. Start coarse, check by looking along the edge in the light, and only move to finer abrasive once the damage has gone.
Hold the angle, grind until a burr runs the full length, refine and strop it off, and strop after every session so you rarely need to grind.