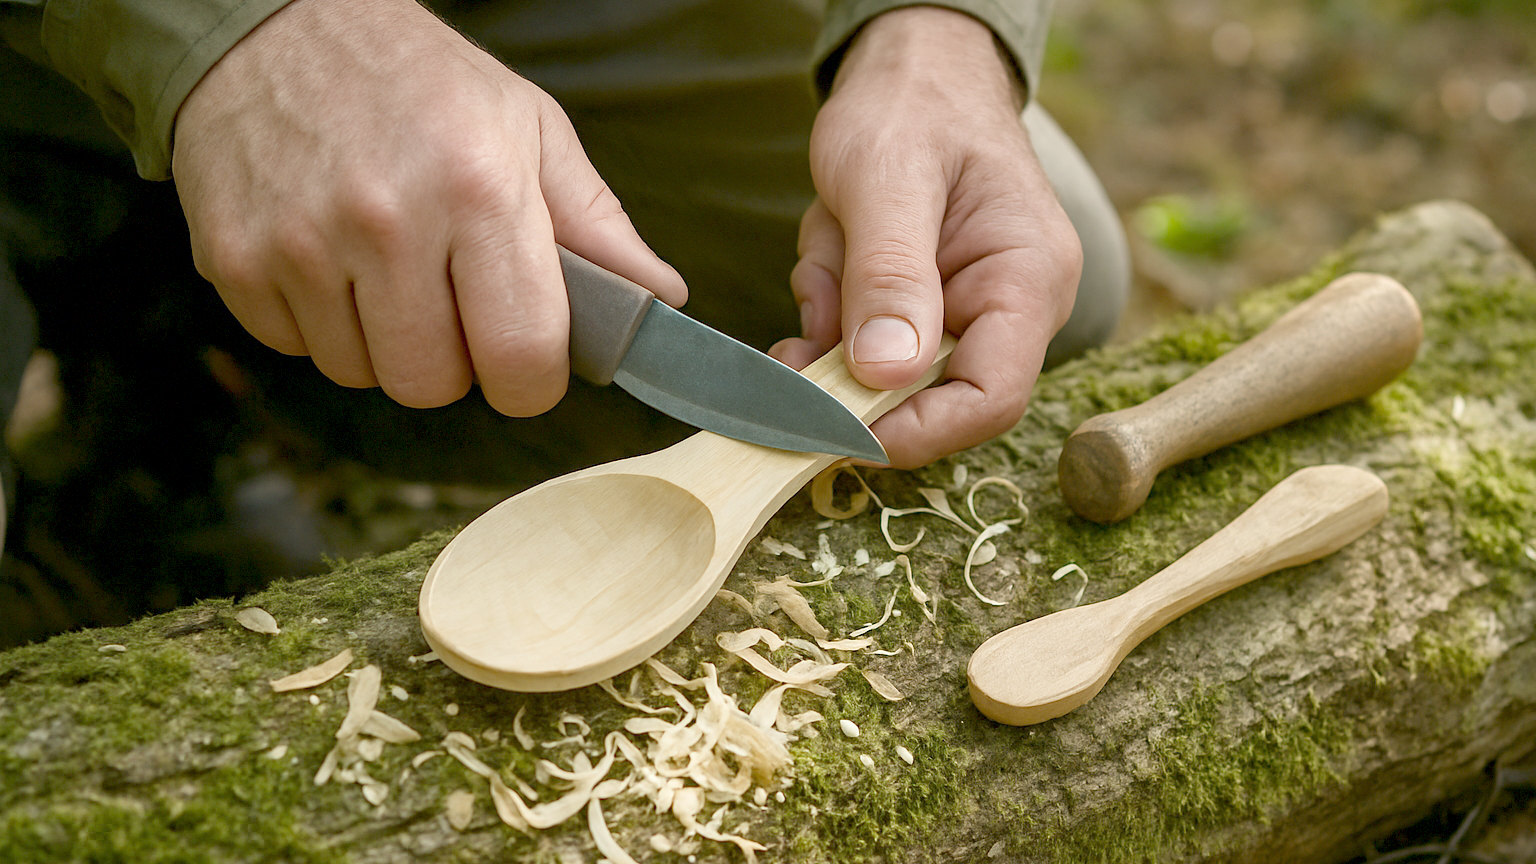
A spoon is the traditional first carving project because it requires every fundamental cut, uses a small piece of wood, and produces something genuinely useful at the end.
Why green wood?
Because it cuts far more easily. Freshly cut wood retains moisture and carves with a fraction of the effort of seasoned timber, which is hard, brittle and unforgiving. Working green also means the piece can be roughed out quickly and left to dry slowly, which is how most traditional green woodworking proceeds.
Which woods work?
Birch, sycamore, cherry, lime and willow are all forgiving and commonly used. Sycamore is a traditional choice for kitchen items because it is close grained, does not taint food and finishes cleanly. Avoid strongly aromatic or toxic species for anything that will touch food, and avoid wood with knots in the area you intend to hollow.
- Use green wood, which cuts far more easily than seasoned
- Birch, sycamore, cherry and lime are forgiving choices
- Split the blank rather than sawing it lengthways
- Rough out the shape before refining anything
- Read the grain and cut with it, not against
- Dry it slowly to avoid splitting
How do you start?
Split a section of a log to get a blank rather than sawing it lengthways, since splitting follows the grain and produces a stronger piece. Draw the outline on it. Then remove the waste in stages: the profile from the side, then the plan from above, then the bowl, then the refinement. Working in that order stops you carving detail into wood you later remove.
How do you read the grain?
By watching how the wood behaves and adjusting. Cutting with the grain produces clean shavings and cutting against it tears and digs in. Grain direction changes around curves and near knots, so on a spoon you carve toward the middle from each end on the outside of the bowl. If the knife starts tearing, reverse the direction of cut rather than pressing harder.
What tools do you need?
A knife and, for the bowl, a hook or crook knife with a curved blade. Some people manage the bowl with a gouge or by burning it out with an ember, which is a traditional method and slow. The straight knife does everything else. Both need to be genuinely sharp, since carving with a dull edge is unpleasant, slow and dangerous.
What cuts should you learn?
The push cut for removing material with control, the pull or chest lever cut for power, and the thumb push for fine work. Each has a safe form and each puts the blade on a different line, so the safety consideration changes with the cut. Learning them properly, ideally with someone watching, is worth more than any amount of reading.
How do you finish it?
With the knife rather than sandpaper, if you want a traditional finish. Clean knife cuts leave facets that catch the light and are more durable than a sanded surface, which raises fibres when wet. Let the spoon dry slowly, in a paper bag or in a cool place, since rapid drying splits it. Oil with a food safe oil once dry.
How long does it take?
A few hours for a first attempt, and considerably less once practised. The first will be thick, asymmetrical and slightly ugly, and it will still work. That is the correct outcome and the point of the exercise, which is learning the cuts rather than producing an object. Make several before worrying about how they look.
What if it splits?
It usually means it dried too fast. Green wood loses moisture from the end grain first, which sets up stresses that crack the piece, so slowing that down prevents most splitting. Leave the blank oversized while drying, seal the ends with a smear of oil or wax, keep it in a paper bag or a cool room rather than beside a radiator, and accept that some pieces will split anyway.
Split a green blank, rough out the profile before any detail, read the grain and reverse when it tears, and dry it slowly before oiling.